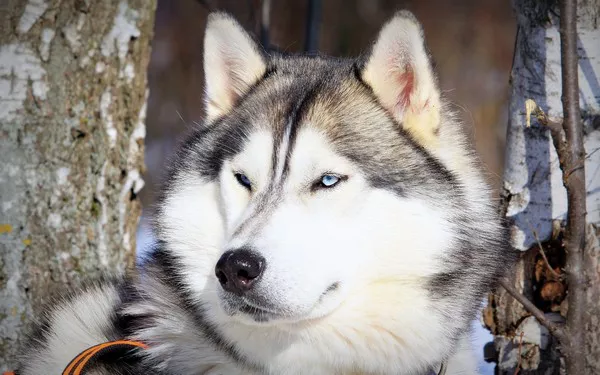
Huskies, known for their energetic demeanor and striking appearance, require regular nail maintenance to ensure their health and comfort. Proper nail trimming not only prevents issues like overgrowth and splitting but also contributes to the overall well-being of your husky. In this comprehensive guide, we’ll delve into the specifics of trimming husky nails, covering essential techniques, best practices, and tips for a stress-free experience.
Understanding Husky Nail Anatomy
Before diving into the trimming process, it’s crucial to understand the anatomy of husky nails. Huskies, like all dogs, have nails that consist of several parts:
- Claw: The visible part of the nail that extends beyond the paw pad.
- Quick: A blood vessel and nerve that run through the center of the nail. It’s essential to avoid cutting into the quick to prevent bleeding and pain.
- Cuticle: The thin layer of skin that covers the base of the nail where it meets the paw.
Tools Needed for Trimming Husky Nails
Gathering the right tools beforehand ensures a smooth and efficient nail trimming session. Here’s what you’ll need:
- Dog Nail Clippers: Choose clippers designed for medium to large dogs, preferably with a safety guard to prevent cutting too much at once.
- Styptic Powder or Gel: In case you accidentally trim the nail too short and cause bleeding, styptic powder or gel helps stop the bleeding quickly.
- Treats: Use treats to reward your husky during and after the trimming session, reinforcing positive behavior.
- Nail File or Grinder: Optional but useful for smoothing rough edges after clipping.
Preparing Your Husky for Nail Trimming
Proper preparation sets the stage for a successful nail trimming session. Follow these steps to prepare your husky:
- Create a Calm Environment: Choose a quiet, well-lit area where your husky feels relaxed. Avoid distractions that could startle or stress them.
- Introduce Handling: Gradually acclimate your husky to having their paws handled. Start with gentle touches and praise, gradually increasing the duration of paw handling sessions.
- Positive Reinforcement: Use treats and praise to create positive associations with nail trimming. Reward calm behavior and cooperation.
- Choose the Right Time: Pick a time when your husky is relaxed, such as after exercise or during a quiet period of the day.
Step-by-Step Guide to Trimming Husky Nails
Follow these detailed steps to trim your husky’s nails safely and effectively:
Step 1: Inspect the Nails
Begin by inspecting each nail to identify the quick and determine how much needs to be trimmed. The quick is more visible in light-colored nails but may be harder to see in dark nails.
Step 2: Positioning Your Husky
Position your husky comfortably either standing or lying down. If standing, have them sit between your legs or on a non-slip surface to prevent sliding.
Step 3: Trim Gradually
Hold the paw firmly but gently. Use the nail clippers to trim a small amount of the nail, avoiding the quick. If unsure, trim less rather than more to minimize the risk of cutting into the quick.
Step 4: Use a Proper Technique
Hold the clippers at a slight angle, cutting from underneath the nail. This helps prevent crushing or splintering the nail. Aim to clip straight across rather than at an angle to avoid ingrown nails.
Step 5: Monitor for the Quick
Inspect the freshly trimmed nail. If you see a small dark dot in the center of the nail, you’ve reached the quick and should stop trimming. Trim the other nails accordingly.
Step 6: Smooth Edges
If the nails are sharp or rough after trimming, use a nail file or grinder to smooth the edges. This helps prevent snagging and discomfort.
Step 7: Reward and Reinforce
Reward your husky with treats and praise for their cooperation. This positive reinforcement encourages a calm attitude during future nail trimming sessions.
Step 8: Address Bleeding (if necessary)
If you accidentally cut into the quick and cause bleeding, remain calm. Apply styptic powder or gel directly to the bleeding nail tip to stop the bleeding. Hold gentle pressure for a few seconds until the bleeding stops.
Tips for Successful Husky Nail Trimming
- Routine Trimming: Trim your husky’s nails every 2-4 weeks to maintain optimal length and prevent overgrowth.
- Start Early: Introduce nail trimming to your husky as a puppy to acclimate them to the process early on.
- Regular Paw Checks: Inspect your husky’s paws regularly for signs of nail overgrowth, splitting, or injury.
- Stay Calm: Remain calm and patient during nail trimming sessions to prevent your husky from becoming anxious or fearful.
- Professional Help: If you’re unsure about trimming your husky’s nails or if they have dark-colored nails where the quick is hard to see, consider seeking assistance from a veterinarian or professional groomer.
Common Mistakes to Avoid
- Cutting the Quick: Avoid cutting into the quick, as it can cause pain, bleeding, and reluctance for future nail trimming.
- Using Improper Tools: Use dog-specific nail clippers rather than human clippers or scissors, which can crush or splinter the nail.
- Skipping Regular Trims: Neglecting nail trimming can lead to overgrowth, discomfort, and potential injury for your husky.
See also: How to Cut the Nails of a Golden Retriever
Conclusion
Trimming your husky’s nails is an essential part of their grooming routine, promoting comfort, health, and well-being. By understanding the anatomy of husky nails, using proper tools and techniques, and incorporating positive reinforcement, you can ensure a stress-free experience for both you and your husky. Regular nail maintenance not only prevents issues like overgrowth and splitting but also strengthens the bond between you and your canine companion. With patience and consistency, you can master the art of husky nail trimming and contribute to their overall quality of life.


